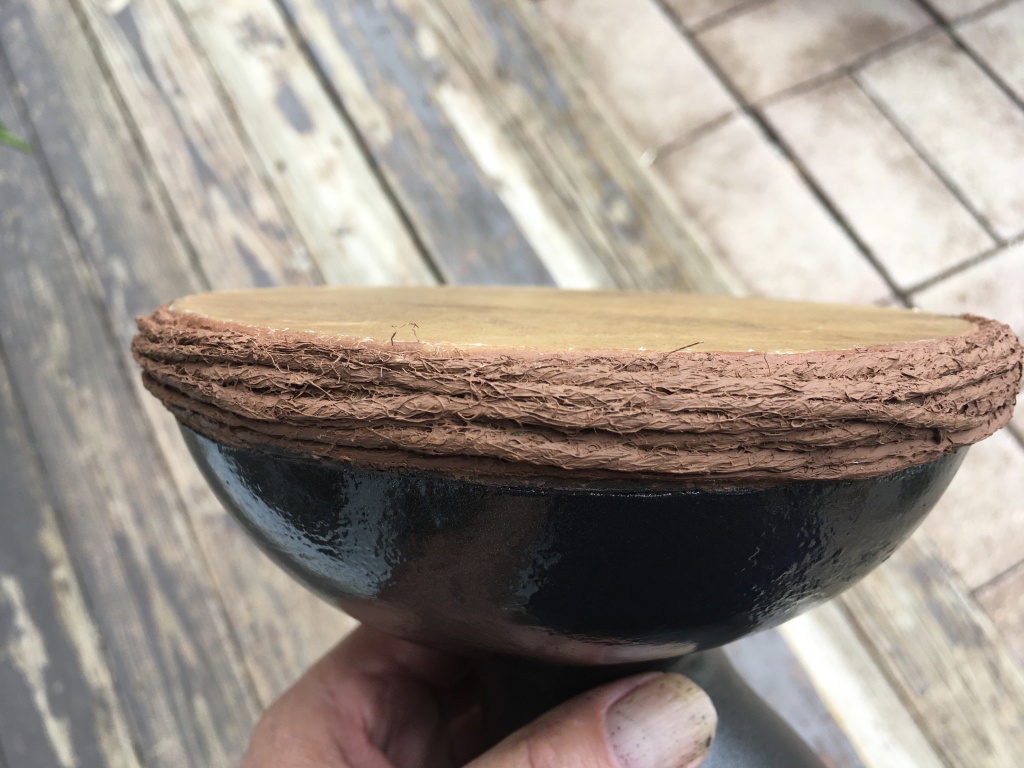
Spring weather in Colorado can have wide temperature swings. We think that might be the reason we found this basic hand drum with a cracked rim one day. Along with other drums, it was kept in an unheated garage that was quite warm during the day and often near freezing at night.The expansion and contraction over a period of weeks apparently created enough internal stress to break the wood near the top resulting in a big gap on one side (Figure 1). At least that is the only explanation we can come up with. How to fix it?
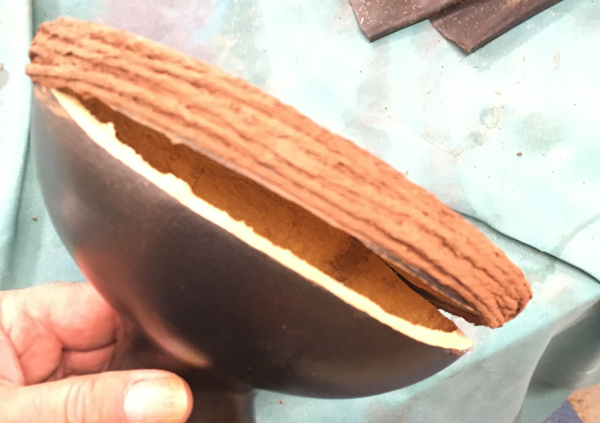
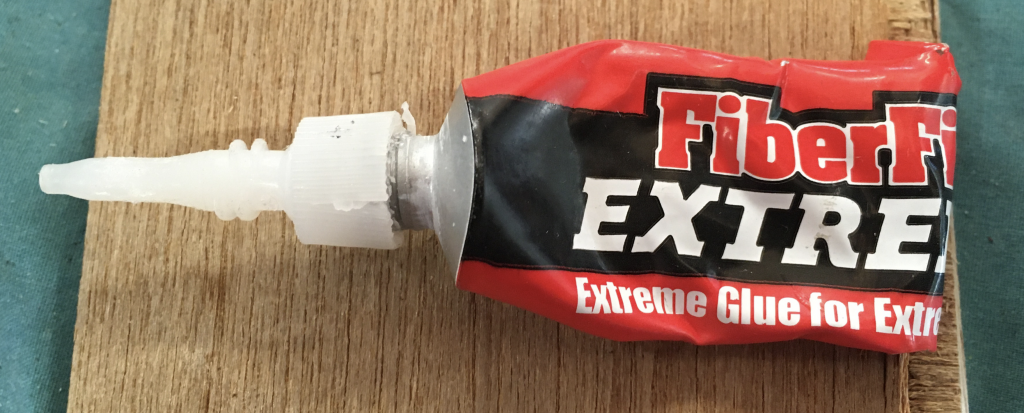
We’ve repaired similar breaks using wood glue but Initial attempts at setting up a clamping mechanism to allow wood glueing were unsuccessful due to the big difference in angle between the top and the base. Some kind of gap filling super glue-like stuff looked like it could work. We happened to have some (Figure 2.)
After smearing a layer of viscous cyanoacrylate on both sides of the gap, the sides were pressed together using body weight to hold the drum head-down against a padded table for four minutes. The second hand on the clock moves pretty slow when you are pushing a drum against a table. It worked (Figure 3).
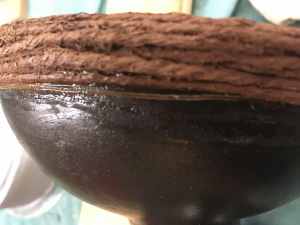
After letting the adhesive cure for about 15 minutes, the trim was masked and the glued joint was sanded and painted with the original “oiled bronze” spray paint. A final touch up of the trim left it looking pretty good and we didn’t even need to remove the head (Figure 4).